Pet Photography Project 52: Week 23 Learn to Sketch
Week 23 of our project 52 challenge has the title Learn to Sketch. When I read this, I really didn't know what to expect and then the first paragraph states: "The idea that this craft is easy gets unfairly promoted from all kinds of corners, not the least of which are the camera companies themselves. But it's not easy. No new camera will help you 'shoot like a pro...' " This resonates with me on so many levels. I was guilty of thinking this way. A year and a half ago when I bought my first professional camera, I thought I'd buy the camera and boom, I'd be a professional dog photographer. Wow, was I wrong. I had no idea there was so much to learn and I know I need to do a better job of educating others about everything that goes into creating an image that has an impact on its viewer. It is hard. It is frustrating. It is expensive. It is time consuming. It is amazing. It is worth it. It is gratifying. It is humbling.
I truly love it.
If it wasn't hard, everyone could do it and everyone's photos would be great.
Back to Learning to Sketch. In our book The Visual Toolbox by David Duchemin, he says and I am paraphrasing: Because we so often see only the final work of the photographers we respect, I think we miss what would be an otherwise eye-opening chance to see their process. One that he likens to 'sketching.' He says painters sketch out their images and many even have a process that often involves scraping the canvas clean and starting again. He says as a creative person, you have to be open to not getting it right the first time. You have to be open to playing and to experimenting. He looks at his failed images as rough drafts and he says he makes hundreds of them.
Here is a true story: an amazing photographer whose work I admire so much posted several images recently. I was with her when she took some of them and my images don't look like hers. Her photography skills are certainly better than mine as are her editing skills. I responded to her post by saying: "I mean this in the highest form of flattery but I envy your talent so much it hurts." I want to be that good.
Duhcemin says he keeps his old images and looks back on them and sometimes they take him to new places. They remind him not to get discouraged because they might lead him to the heart of what he's trying to create. The first sentence in our assignment instructions this week: 'Stop being so hard on yourself.' Ha! If he only knew how close to home that hits. Well timed sir, well timed! :)
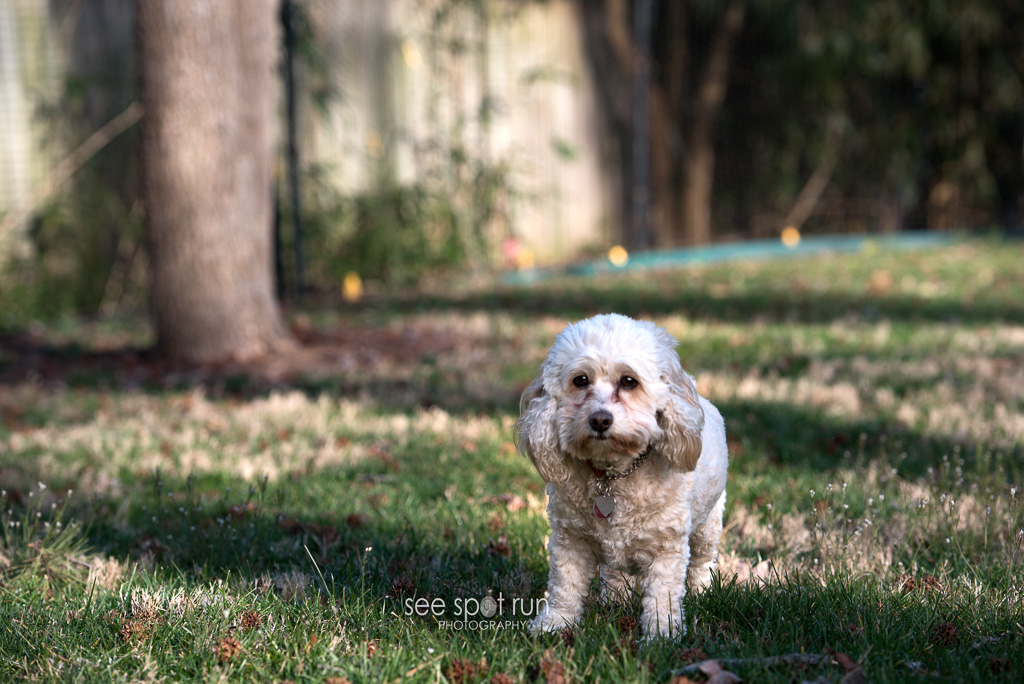
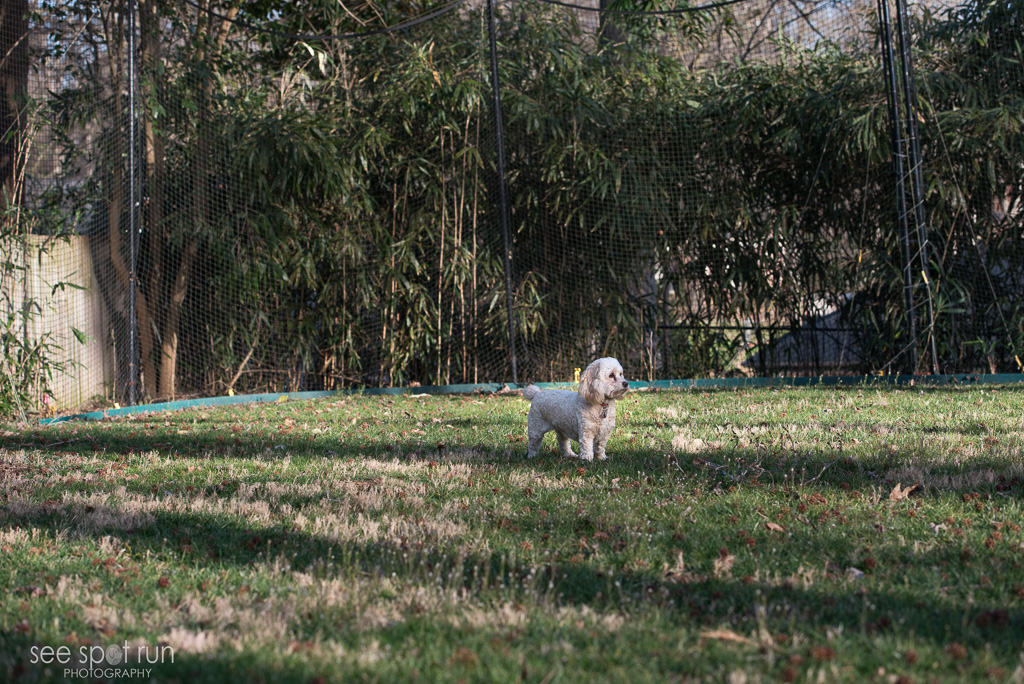
So I decided to take a look back on some older images of mine. The next two photos are ones I took after having my camera for about 2 weeks. I had no idea what I was doing. For the photogs reading this, I was in Aperture priority (ha! that's a miracle! I now shoot in manual but I half expected to find I'd been in automatic mode.) My settings were f/5, 1/80 and ISO 1000. Typing that makes me laugh. None of those settings make sense at all and at least now I know that. I have made progress, hopefully a lot of progress since Aug 2014.


Back to the challenge this week, to me, this comes down to editing. If you don't get the shot right in the camera, some times there are things that can be done in post processing that will make a photo heaps better. For example if you underexpose the shot because you didn't have a change to change your settings because your subject was moving around, things can be done in post processing to fix this. (I am not at all implying that photographers should rely solely on their post processing to "fix" their images.) Because I feel as though my editing skills are really lacking, I try really hard to get the shot right in the camera. I don't know LR and PS well enough to try and adjust the colors too much. If I do play around with them, inevitably I end up with a green cast on the dog or some sort of result that I don't want.
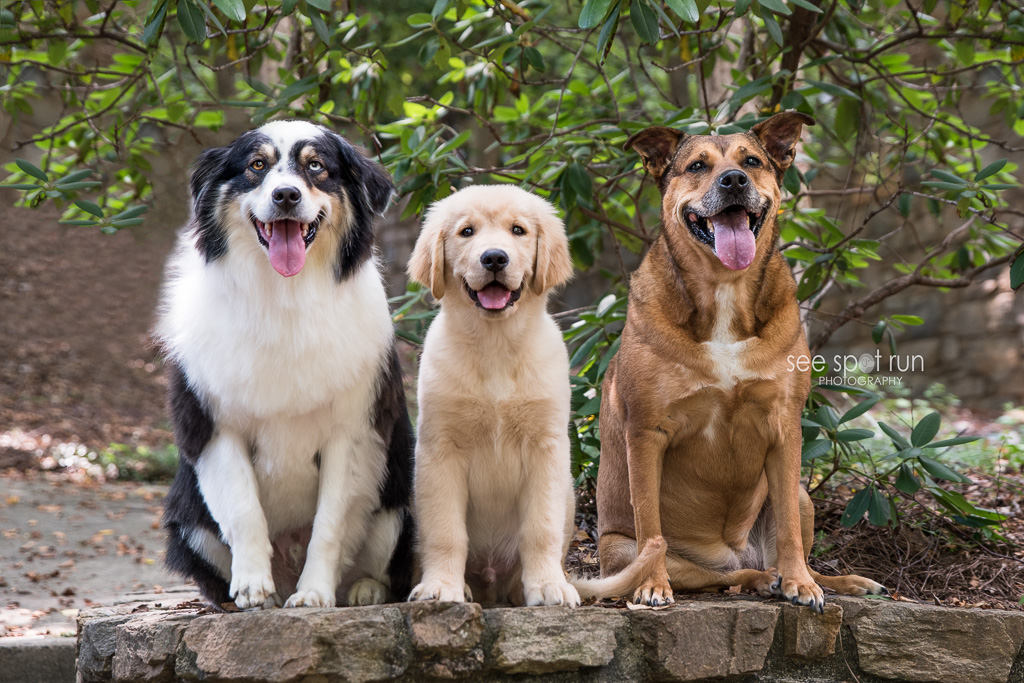
Here are two images from a photo session I had this past week. I love images that have a lot of bokeh in the background. In this image, as much as I wished that were the case in the background here, it wasn't happening. I'm posting the final version first (but I can't guarantee I won't tweak it some more) and then one of my attempts at working on the background. My very first attempt at editing involved trying to mirror the left side of the image on the right side. I was trying to get rid of the green leaves because I prefer the background on the left side of the photo. That attempt did not work at all. Just like a painter, I started over and over on this image several times. My next attempt I tried mirroring the right side on the left side. (see below.) After spending more time that I should admit (it was hours), I went back to the original background. Perhaps next time, I will remember to really look at my background and consider re-framing it when I am composing the shot. Perhaps this will be one of those shots that Mr. Duchemin is talking about when he says that hours, months or even years later he'll go back to one and consider it again. Perhaps I'll decide that the original is just fine. But if I am being honest, all I was worried about at the time was I had 3 dogs holding a stay in front of me and I needed to take their picture!

Next up in the blog circle is Pet Love Photography, serving Greater Cincinnati and the San Francisco Bay Area. Be sure to click the link at the bottom of each post and you'll end up right back here again!
Barkelona Day 2, Photo Shoot with Sasha
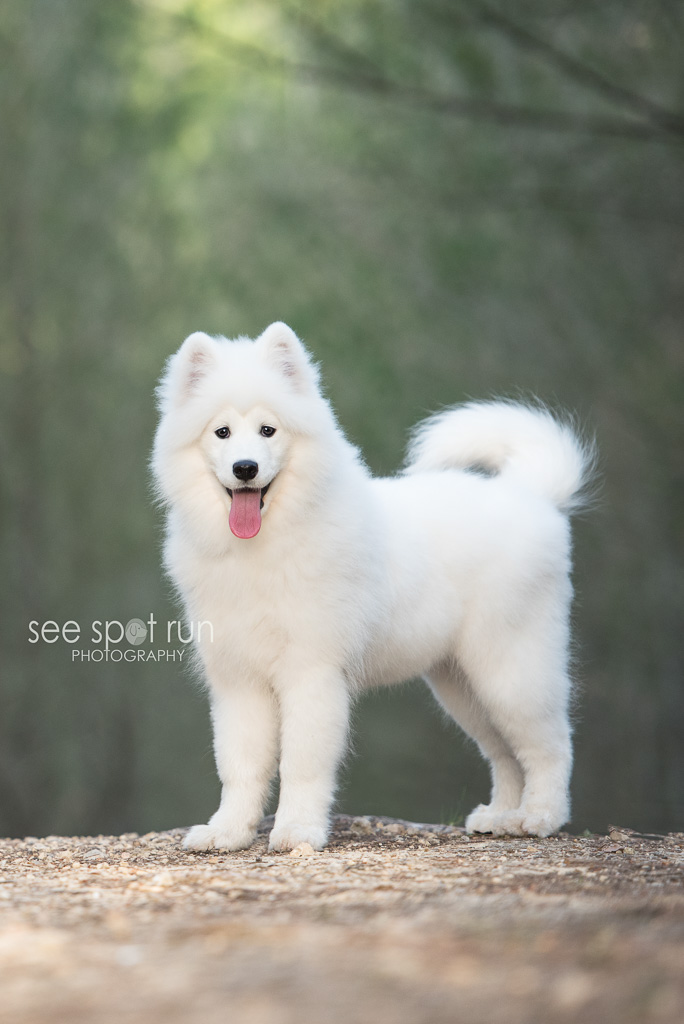
If you've read my previous posts about my day 2 photo shoots at Barkelona, you've met Taila, Pepa, Teo, Forca and now let me introduce Sasha. Sasha is a 4 month old Samoyed. After this photo session with her, I knew one of my goals when I got home was to try and find a setting similar to this so I could recreate this first photo of her with my dogs and my client's dogs. I love the dirt path that leads to her and the canopy of trees framing her, and the sun coming through the trees above her. I believe I have found a location in Charlotte to recreate something similar this photo. Unfortunately it isn't super close to where I live (so I am on the hunt for a similar location closer) but I hope to get my dog Moose up to this location soon and once I do, I will post the photos and we can compare them. Eeeeee :)
Back to Sasha.
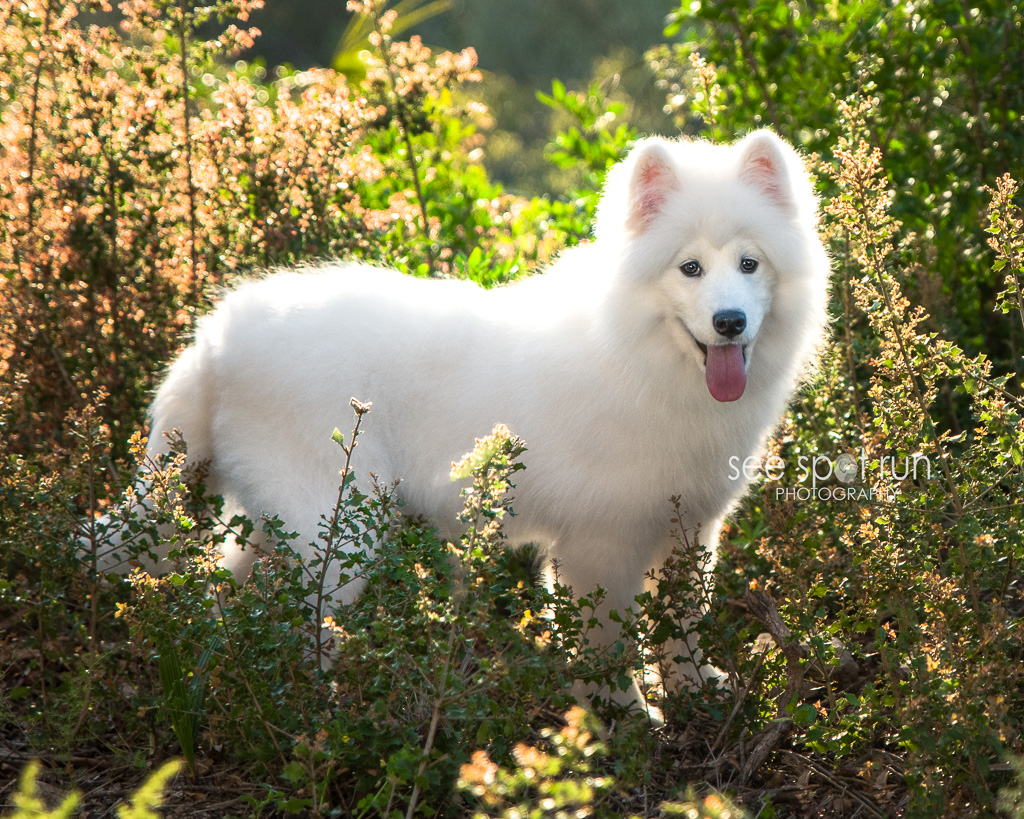
She was such a great model and if my memory serves me correctly, I believe I told the others in the group at the time, I knew these would be photos I would love. I'm having a difficult time editing this first one. The setting is beautiful but it is requiring some photoshop trickery and I've not quite mastered it yet. I'm sure I'll continue to play with this photo... I'm curious to see what I might do to it next time. Again, if you've read my previous posts you know I was searching to create my style. These are getting closer to it, particularly the 2nd photo.

We changed locations and the lighting was gorgeous. In the next set of photos, Sasha was backlit but the setting sun. The photos I took during this time are quite different from the earlier ones of Sasha because of the lighting. Which do you prefer?
I hope you've enjoyed these photos of Sasha. We had one more set of dogs we photographed on day 2. You'll meet Pruna and Boira in my next Barkelona blog post and there were a couple of photos from that session that I stood out to me too. :) Be sure to check back!
Project 52 - Week 13: Use Focus to Abstract
Our challenge this week is to 'use focus to abstract.' As a photographer and a new photographer at that, trying to use a 'lack of focus' to create an image seems foreign to me, uncomfortable even. I would imagine as I gain more experience I will become more comfortable with this idea but right now it isn't comfortable for me at all. I think this concept is particularly difficult when dealing with dogs or perhaps I am just not extremely creative (and that could be it too!) I can't wait to see what the others do with this assignment and perhaps I'll get some inspiration from them. Our instructions were to spend a day getting over our need for sharp focus. I can without a doubt say I've spent every moment behind the camera trying to capture sharp focus. TACK. SHARP. FOCUS.
We were instructed to create a body of art and post several images. Here is the reason why I'm not doing that: As a new photographer, I am trying to attract new customers. If a potential new client were to scroll through images on my blog and see a post of extremely blurry photos without reading the intention of the exercise, they would certainly get the wrong message. I'm afraid my attempts at using focus to abstract didn't result in images I loved. So, while I really appreciate the intention of this exercise and I love doing these each week, below is the one photo I'm posting.
I used curves in photoshop to draw your eye even more to my dog Willow's tongue. (Let me tell you, that was trial and error. I don't really get 'curves.') With curves I was able to blur the majority of her white fur so you loose the outline of the top of her head but her eyes and pink tongue are still distinguishable.
And yay to Willow for being my model this week. She is 10 years old, 11 in May and she has always been afraid of certain sounds. The sound of a train is her biggest fear which took us awhile to figure out when we adopted her 4 years ago. Over the past year, she has developed a dislike for the clicking sound my camera makes so she isn't my model very often. (Even with the beep turned off when the camera focuses, she still doesn't like the clicking of the shutter release.) Such a shame too because she has beautiful eyes.

I seriously can't wait to see what Northeast PA pet photographer, I Got The Shot Photography does with this assignment. Be sure to click the link to find out and then click the link at the bottom of each post to see what each photographer does!
Isolation: Use a Longer Lens - Project 52 - week 10
Our week 10 Project 52 assignment is to create isolation in an image using a longer lens. When you use a longer lens, you are zooming in on your subject or pulling them nearer to you. We were to pay attention to these behaviors: How tight is the angle of view? What are you able to exclude from the frame? Usually when I am photographing the dogs I walk, I am in their backyards and a lot of times there are distracting elements that I want to exclude from the frame. When I use my longer lens zoomed in at 200mm, I am using a tighter angle of view which allows me to intentionally exclude those elements.
My model this week is Molly. I LOVE her big brown eyes however shortly after we got in her backyard, Molly's nose picked up the scent of a rabbit so I didn't get much of a chance to photograph those lovely eyes of hers. I snapped these photos quickly before she took off to find said bunny and after that her nose was very busy and she barely lifted her head to look at me. She did find him although Peter Cottontail escaped unharmed.
Of these two photos, I prefer the top image. I was able to create it by using a longer lens and isolating my subject, cute little Miss Molly. The bottom photo was taken from approximately the same place with the lens zoomed out.
btw - Molly likes to eat apples and watching her eat them and hearing them crunch makes me laugh every time! Greatest job ever!!
Next up in the blog circle is Little White Dog Pet Photography - Sioux Falls, SD and be sure to keep clicking the links at the end of each post to see all of this week's entries.
Wide Angle Inclusion - Project 52 - week 8
Our Project 52 week 8 challenge is to "use a wide angle lens to create a sense of inclusion." The book we are using as our guideline, "The Visual Toolbox" states that wider lenses more closely mimic our peripheral vision and will allow the viewers to feel as if they're part of the scene. I must admit when I read this week's assignment, I got excited. After last week's not so great results, I felt I might have better success with wide angle inclusion AND I was headed to the NC mountains with friends (and their dogs!) What perfect timing for our assignment using a wide angle lens and my subject Topsy the golden retriever was more than happy to model. Then I got a little side tracked.
I was soooo excited to be out with my camera, I forgot to keep the focal length wide. I started out using my 24-70mm lens and I did take some shots in the 26mm range but most of the ones I ended up taking were 70mm+ because I put a bigger lens on my camera. I forgot about the actual intent of the challenge 'wide angle inclusion' as I was just focused on trying to get a sharp image of my subject who was not still for very long periods of time. :) Can you blame her?
This image isn't tack sharp but it was shot at 26mm. Topsy is actually in a harness, on leash with her mom holding the other end, all of which is in the original photo so this one provided great photoshop practice for me. I also am wondering if I need to get my 24-70mm lens calibrated. After this past weekend, I want to set it up on a tripod and see if I get sharp results because I'm not happy with these and I'd like to think it may be the lens and not me. (That however is not likely I'm afraid!)

I loved this assignment and I wish I would've had even more time in the mountains to practice because what this really taught me is that I need more instruction on composition. I had a beautiful subject and a beautiful background but my images "composition-wise" are lacking. I would love suggestions from others on how I could've made this shot more appealing.
I've also recently been reading some facebook posts about using a Depth of Field (DoF) calculator. I've not used one before but I think it would help me know where I need to be in relation to my subject. Does anyone use one regularly and if you have an iphone, is there a specific DoF app you'd recommend?
Next up in the blog circle is Northeastern PA Pet Photographer, I Got the Shot Photography. Be sure to continue clicking the links at the end of each post and then you'll end up right back here.